Jupyter Notebook is an open source web application that allows you to create and share documents containing live code, equations, visualizations and narrative text. The Jupyter notebooks are ideal for online and collaborative data analysis and typical use cases include data cleansing and transformation, numerical simulation, statistical modeling, data visualization, machine learning, and more.
Jupyter Notebook supports more than 40 programming languages (which are implemented inside the specific “kernel”); in fact, “Jupyter” is an acronym for Julia, Python and R. These three programming languages were the first languages that Jupyter supported, but today it also supports many other languages such as Java, Scala, Go, Perl, C/C++. IPython is the default kernel and supports Python 3.5+. Jupyter can also leverage Big Data frameworks and tools like Apache Spark; it can also be run in containerized environments (Docker, Kubernetes, etc.) to scale application development and deployment, isolate user processes, or simplify software life cycle management.
For more information take a look at Jupyter’s official web site.
There are some ways to run PySpark on a Jupyter Notebook:
- Configure the PySpark driver to run on a Jupyter Notebook (and starting PySpark will open the Jupyter Notebook)
- Load a conventional IPython kernel in Jupyter and use the findSpark library to make the Spark context available in Jupyter’s kernel. This is often used to make PySpark available in an IDE for local development and testing. More information is available here.
- Use the SparkMagic package to work interactively with remote Spark clusters via Livy, Spark’s REST API server. More information is available here.
This blog post focuses on the first option, which means that the PySpark driver will be executed by the Jupyter Notebook’s kernel.
To do this, we will configure Jupyter to run Python over Spark (PySpark API) using a Hadoop/Spark cluster as the distributed processing backend. The same approach can be used with a Scala Jupyter kernel to run Notebooks in Spark’s distributed mode.
STEP 1: Install Jupyter Notebook
Instead of just installing the classic Jupyter Notebook we will install the Anaconda distribution since it also includes many data-science packages and simplifies a lot Python package management and deployment. You can find the instructions in my previous post. If this is a single-user install you can use the default user’s home directory as the installation target. For further details have a look at the official Anaconda documentation here.
STEP 2: Configure Jupyter’s Notebook server
We can configure how the Notebook server will run by editing the jupyter_notebook_config.py file. To generate this file just run the following:
# jupyter notebook --generate-config --allow-root
(the --allow-root is used to avoid the warning generated by running Jupyter as root).
The IP address on which Notebook’s server will listen may need to be changed. If this is the case, edit the file $HOME/.jupyter/jupyter_notebook_config.py and change the ‘c.NotebookApp.ip’ parameter, for example:
c.NotebookApp.ip = '192.168.189.11'
Now start the Jupyter’s Notebook server with:
# jupyter notebook --allow-root

At this point we neet stop the Notebook server (press CTRL+C) as we need further config…
STEP 3: Configure the PySpark driver to run on a Jupyter Notebook
To do this we have to update the PySpark environment variables accordingly in the Spark client node from which the Jupyter’s Notebooks will run (this can be an edge node).
We add the following to the user’s .bashrc:
export PYSPARK_DRIVER_PYTHON="jupyter"
export PYSPARK_DRIVER_PYTHON_OPTS="notebook --allow-root"
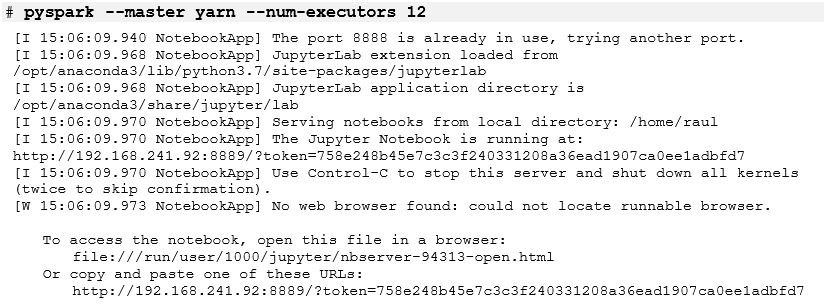
At this point, when we start PySpark the Jupyter Notebook server should be up and running:

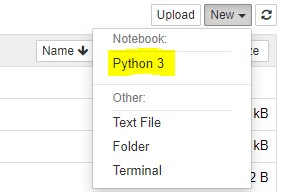
From the Jupyter’s WebUI all we need is to start a new Notebook using the Python kernel:

This will cause YARN to schedule and run a new PySparkShell application. As we can see in the YARN ResourceManager WebUI, our PySparkShell application is running with 12 executors allocated to it:

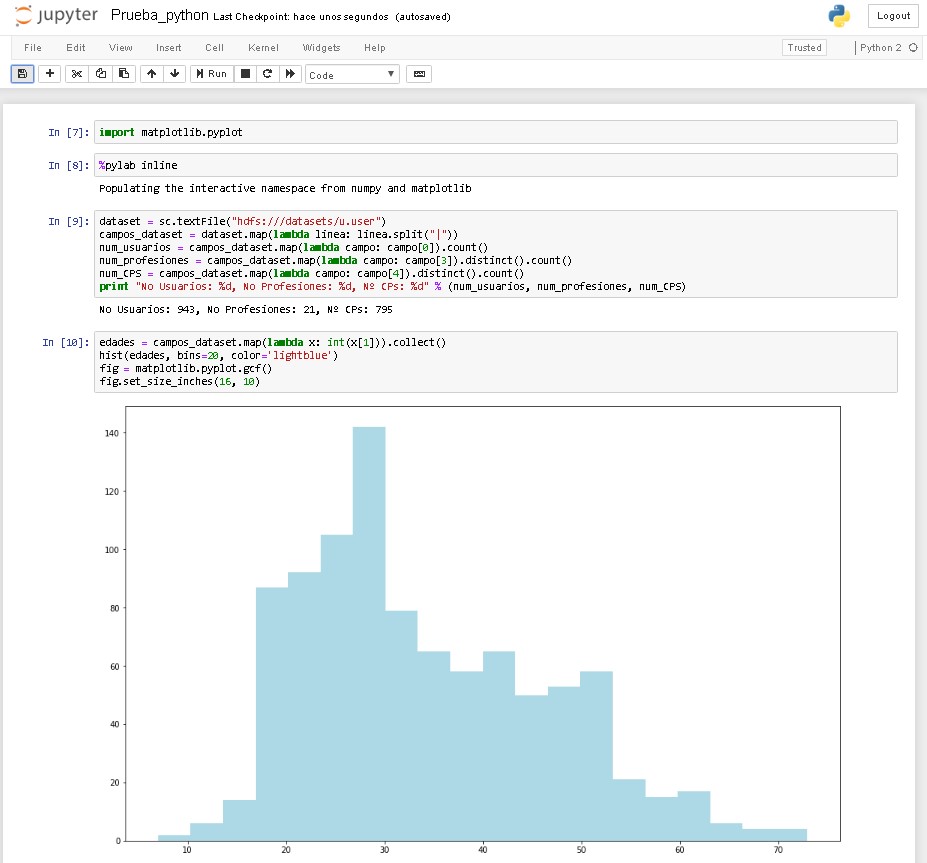
An here you can see a sample code that has been run in Spark from the Notebook:

